
by Alliance Outdoor Lighting, in partnership with Heritage Landscape Supply
Developed as part of our ongoing contractor training series, this article and video feature real jobsite insights, product tips, and installation best practices from the Alliance Outdoor Lighting team.
Choosing the right transformer, layout, and wiring method sets the stage for the whole job. Every decision early on shows up later in performance, service, and how easy it is to expand.
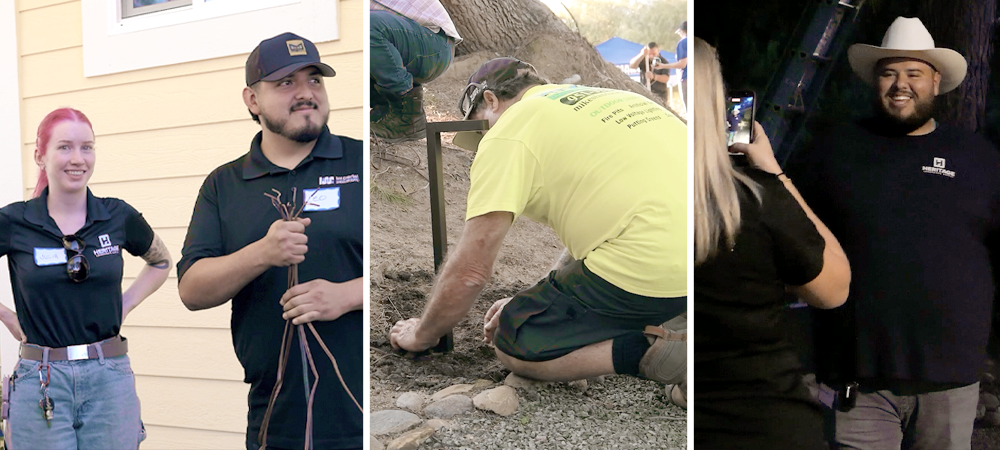
We put this approach into practice during a hands-on training at Jacob’s House, in partnership with Heritage Landscape Supply Group. A real install, built around the decisions that shape long-term results.
Watch the video below:
How to choose the right power source
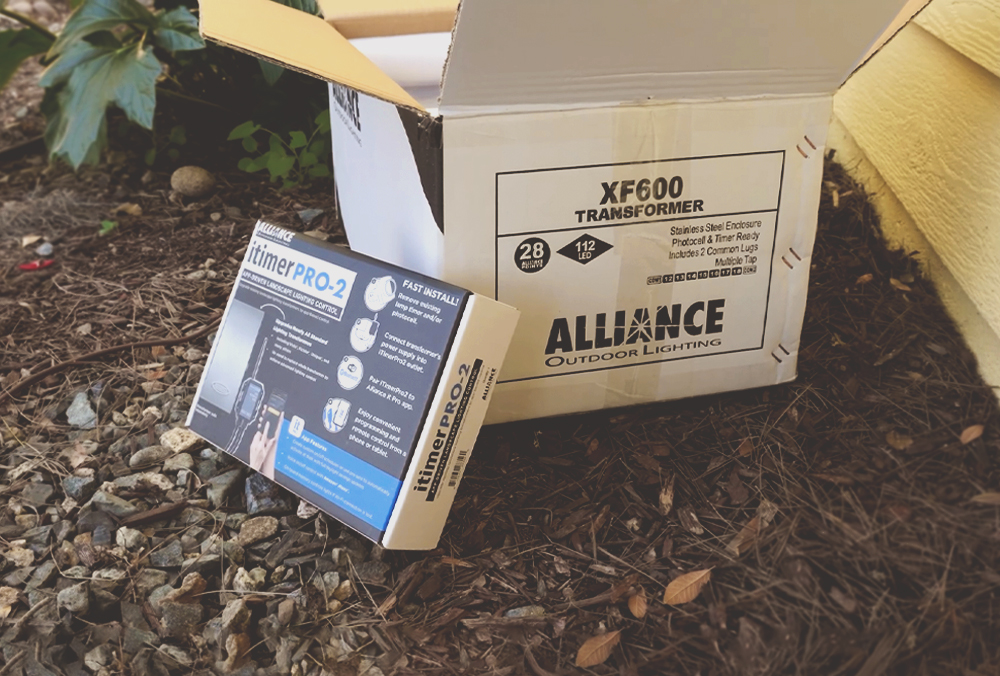
Everything starts at the transformer.
Capacity, control, and the type of job all factor in. First, consider your options, from basic to connected.
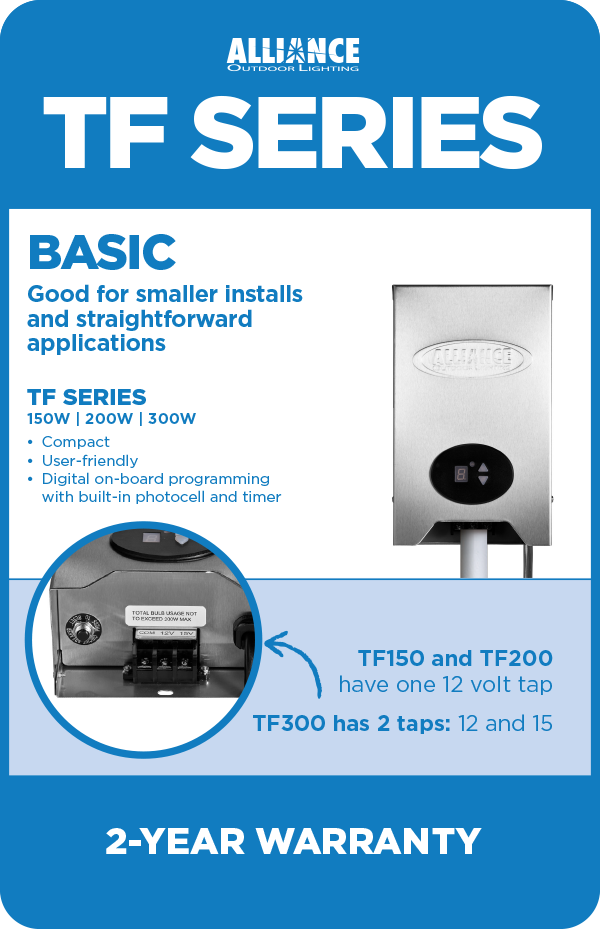
- TF Series – Basic option. Good for smaller installs, straightforward layouts
- XF Series – Advanced option. Better for larger jobs where capacity and durability matter
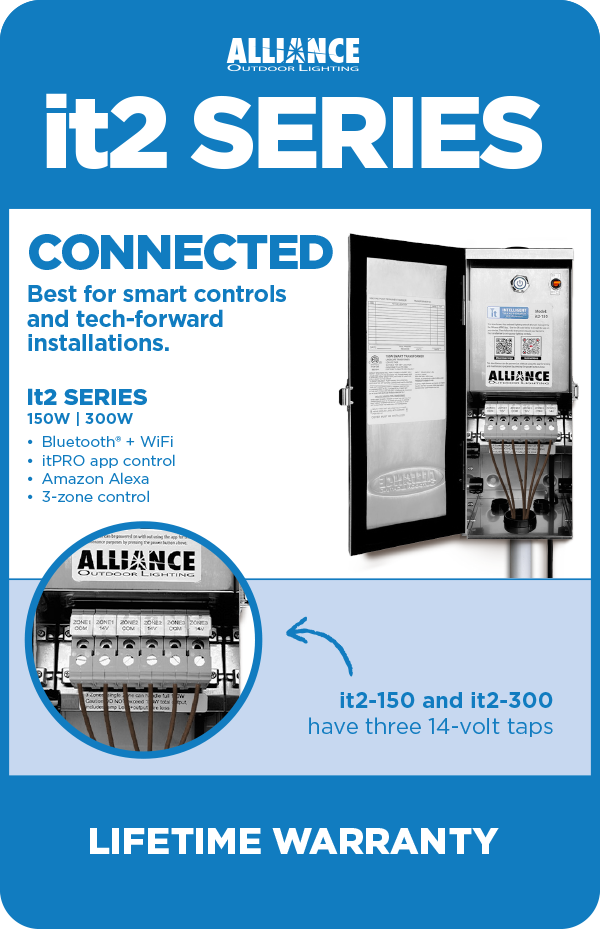
- it2 Series – Connected option. Best for projects where app control and zoning are part of the plan


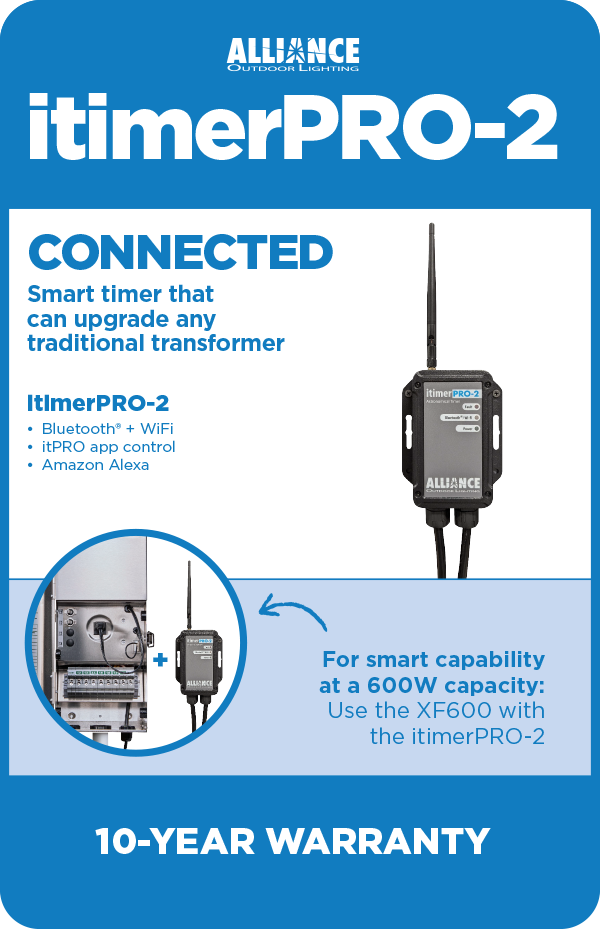
Higher capacity setups can be paired with external controls like the itimerPRO-2 to add app-based control where needed.
The key is matching the transformer to the job. Know the limits, leave headroom, and account for what may get added later.
layout shapes the result
Layout is where creativity meets execution. Placement and technique work together to shape how the space actually looks at night. For this training, we focused on options for lighting up a path.
Path lighting comes down to spacing and placement. There’s no fixed distance. The goal is enough light to move from one fixture to the next without gaps. Staggering from side to side keeps the layout from feeling rigid.
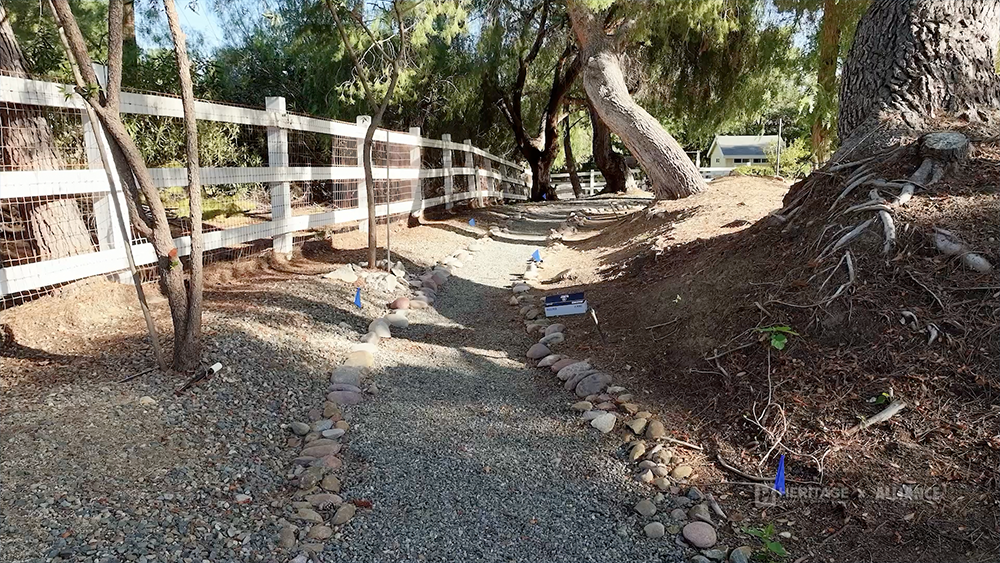
Flagging the path helps map out spacing and staggering before install. Adjust until the coverage feels right.
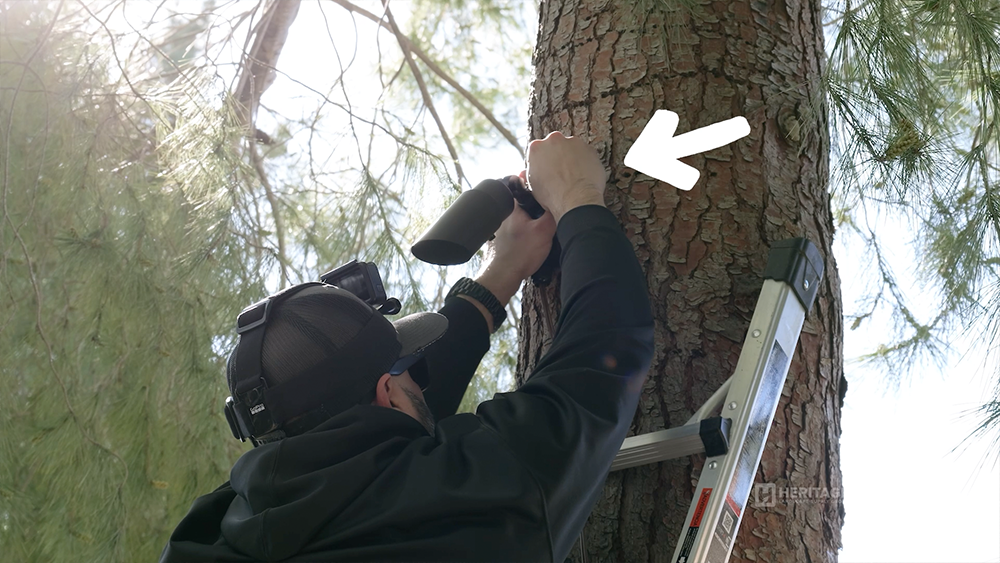
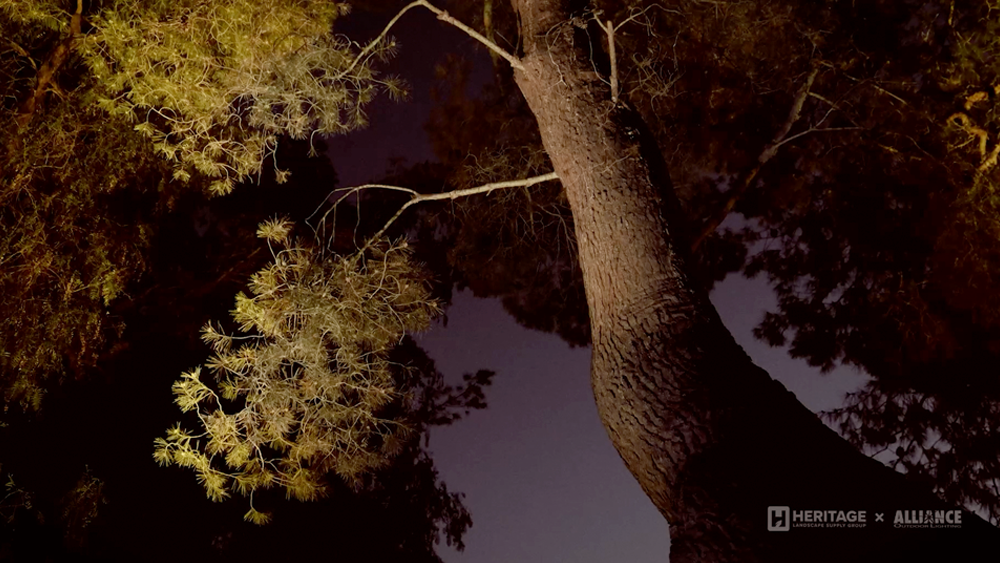
Another option is downlighting. Mounted at least 20 feet up in a tree, it creates a wide, soft spread of light on the ground while keeping glare out of sight. The coverage can reach roughly the size of a pickup truck once it hits the ground.
It takes more effort upfront, but the visual impact is on another level. The right choice depends on the goal of the job and how far the design needs to go.
Wiring Carries the Job Forward
Wiring decisions affect more than the install. They shape how the system holds up over time.
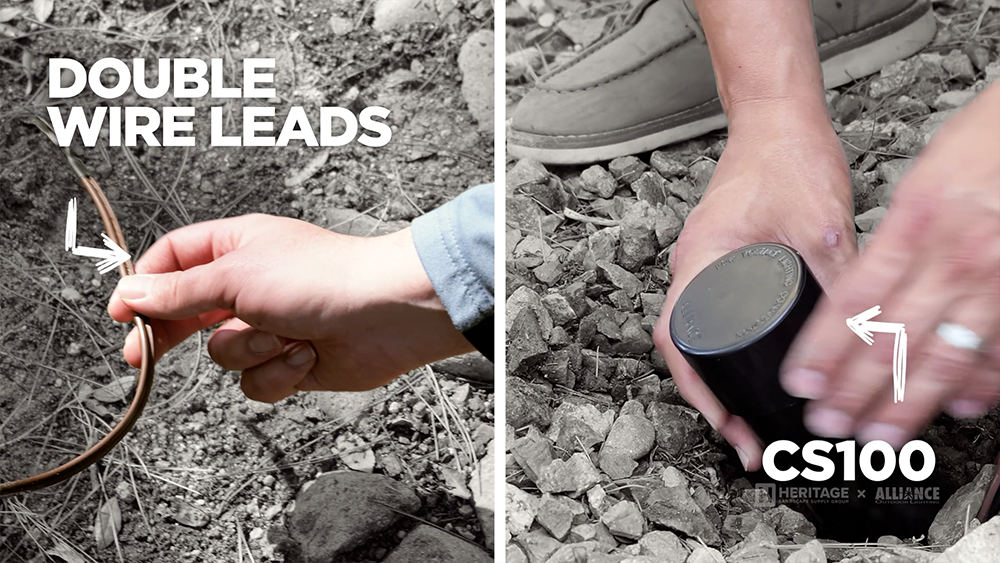
Our double wire lead setup adds flexibility. A 25' lead paired with an extra 18" lead at the fixture opens up options for branching, adding BTREs, or leaving access for future expansion.
During this training, we covered the benefits of these wiring methods:
- Daisy chain – fast to install and efficient on wire. Works well for straightforward runs.
- T method – helps balance voltage across branches and keep output more consistent over distance. Useful when splitting runs.
- Central connection point – clean layout with fewer connections at each fixture. Easier to service and expand, with more even voltage distribution across the system.
Most layouts call for a mix, depending on distance, load, and access. For this training, we used the central connection point method.
Using a dedicated connection point junction box, like the CS100, keeps everything accessible. No guessing where connections are buried when it’s time to service or expand.
Night Adjustments Dial It In
Daytime gets everything in place. Nighttime is where it comes together.
Small adjustments shift the result. A slight change in angle can move a hot spot off a trunk and spread light across the canopy. This is where the job gets refined.
Every job calls for something different. The approach changes, but the goal stays the same. Leave headroom at the transformer, wire it so it’s easy to service or expand, and plan for what comes next
This project brought together hands-on training and a chance to support Jacob’s House and the families they serve.
Big thanks to the Heritage crew and the contractors who showed up and put in the work to make it happen.
Watch the Full Training Video
Every job calls for something different. The approach changes, but the goal stays the same. Leave headroom at the transformer, wire it so it’s easy to service or expand, and plan for what comes next.
If you're looking for some other insightful tips, check out our guide to installing outdoor lighting, or read about our outdoor lighting demo kits, one of the most powerful sales tools.
Thanks to Heritage Landscape Supply Group for partnering with us on this project. You can find your nearest Heritage Landscape Supply location here.
Interested in the next training event near you?
Reach out to your Alliance rep and we'll let you know when the next one is happening! Find your local Alliance sales rep here and we'll get you connected.