
by Alliance Outdoor Lighting
Developed as part of our ongoing contractor training series, this article and video feature real jobsite insights, product tips, and installation best practices from the Alliance Outdoor Lighting team. Scroll to the bottom of this page for the full video on how to install downlighting in a tree.
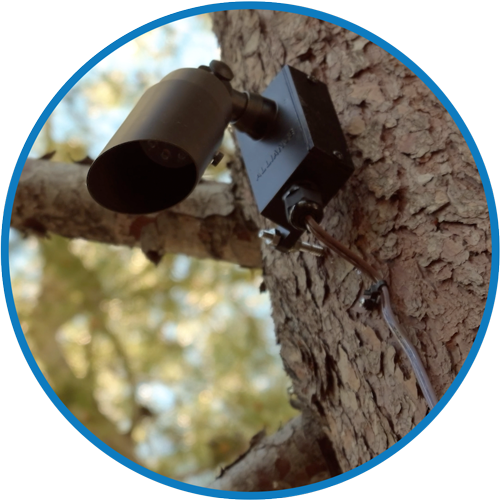
Tree-mounted downlighting takes a little more planning, but the finished effect is worth it.
By mounting fixtures high and aiming them downward, you can light paths, seating areas, lawns, and planting beds with fewer visible fixtures. The result feels softer, more natural, and more intentional than a layout built only from the ground up.
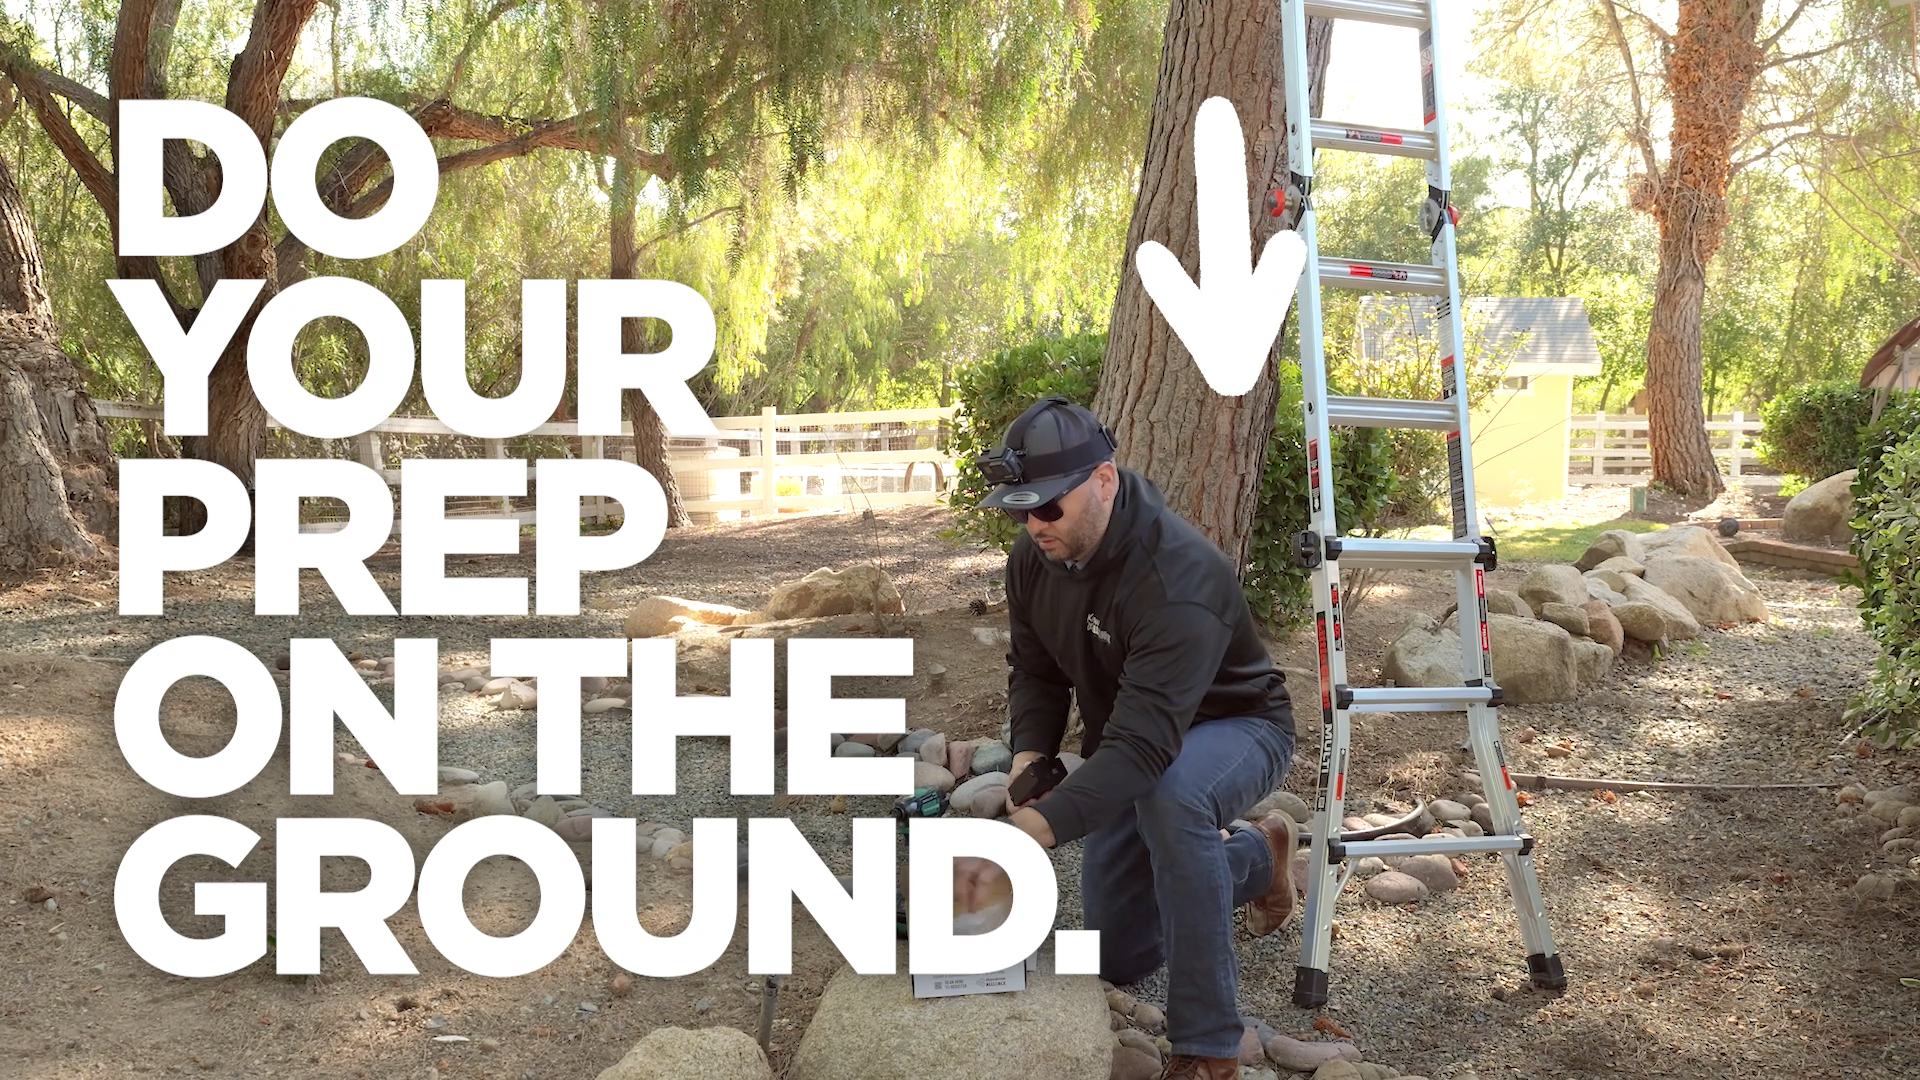

Prep on the Ground
The less you’re juggling in the tree, the better.
Before you climb, set up as much as possible on the ground. Prep the Treemount, hanger bolts, fixture, and wire connections first so the install is cleaner, faster, and easier once you’re on the ladder.
This is especially helpful when working with small hardware. Prepping the hanger bolts ahead of time gives you a better drive point, and assembling the fixture to the Treemount on the ground reduces the amount of overhead work once you’re up in the canopy.
A few minutes of prep here can save multiple trips up and down the ladder.
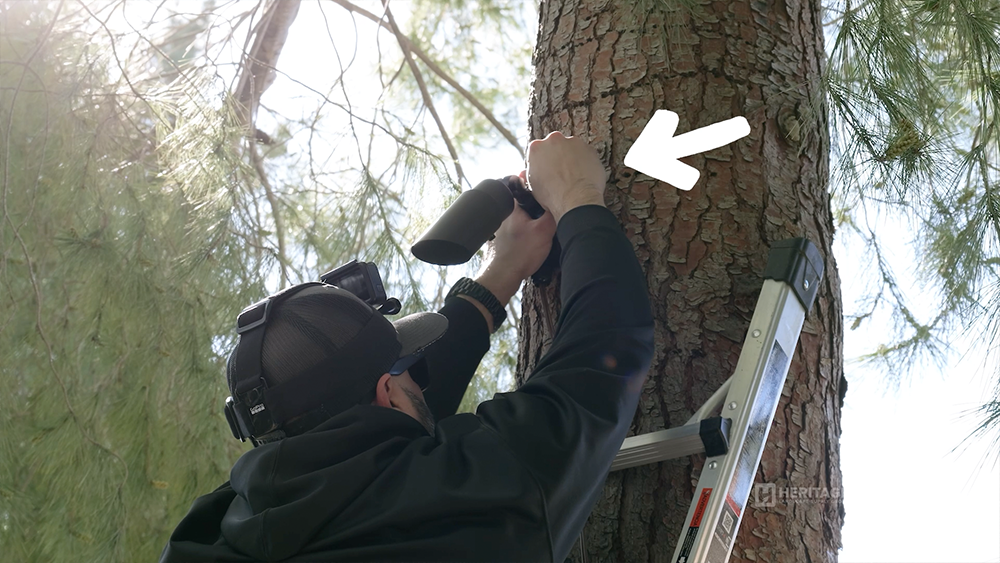
Install it high
Placement drives the whole result.
Mount fixtures at least 20 feet high whenever possible. This helps keep the light source out of direct view, reduces glare, and gives the fixture enough height to cast a wider pool of light.
At around 20 feet high, a downlight can cast a pool of light roughly the size of a full-size pickup truck. That’s a useful reference when you’re deciding where the light should land and how many fixtures the space may need.
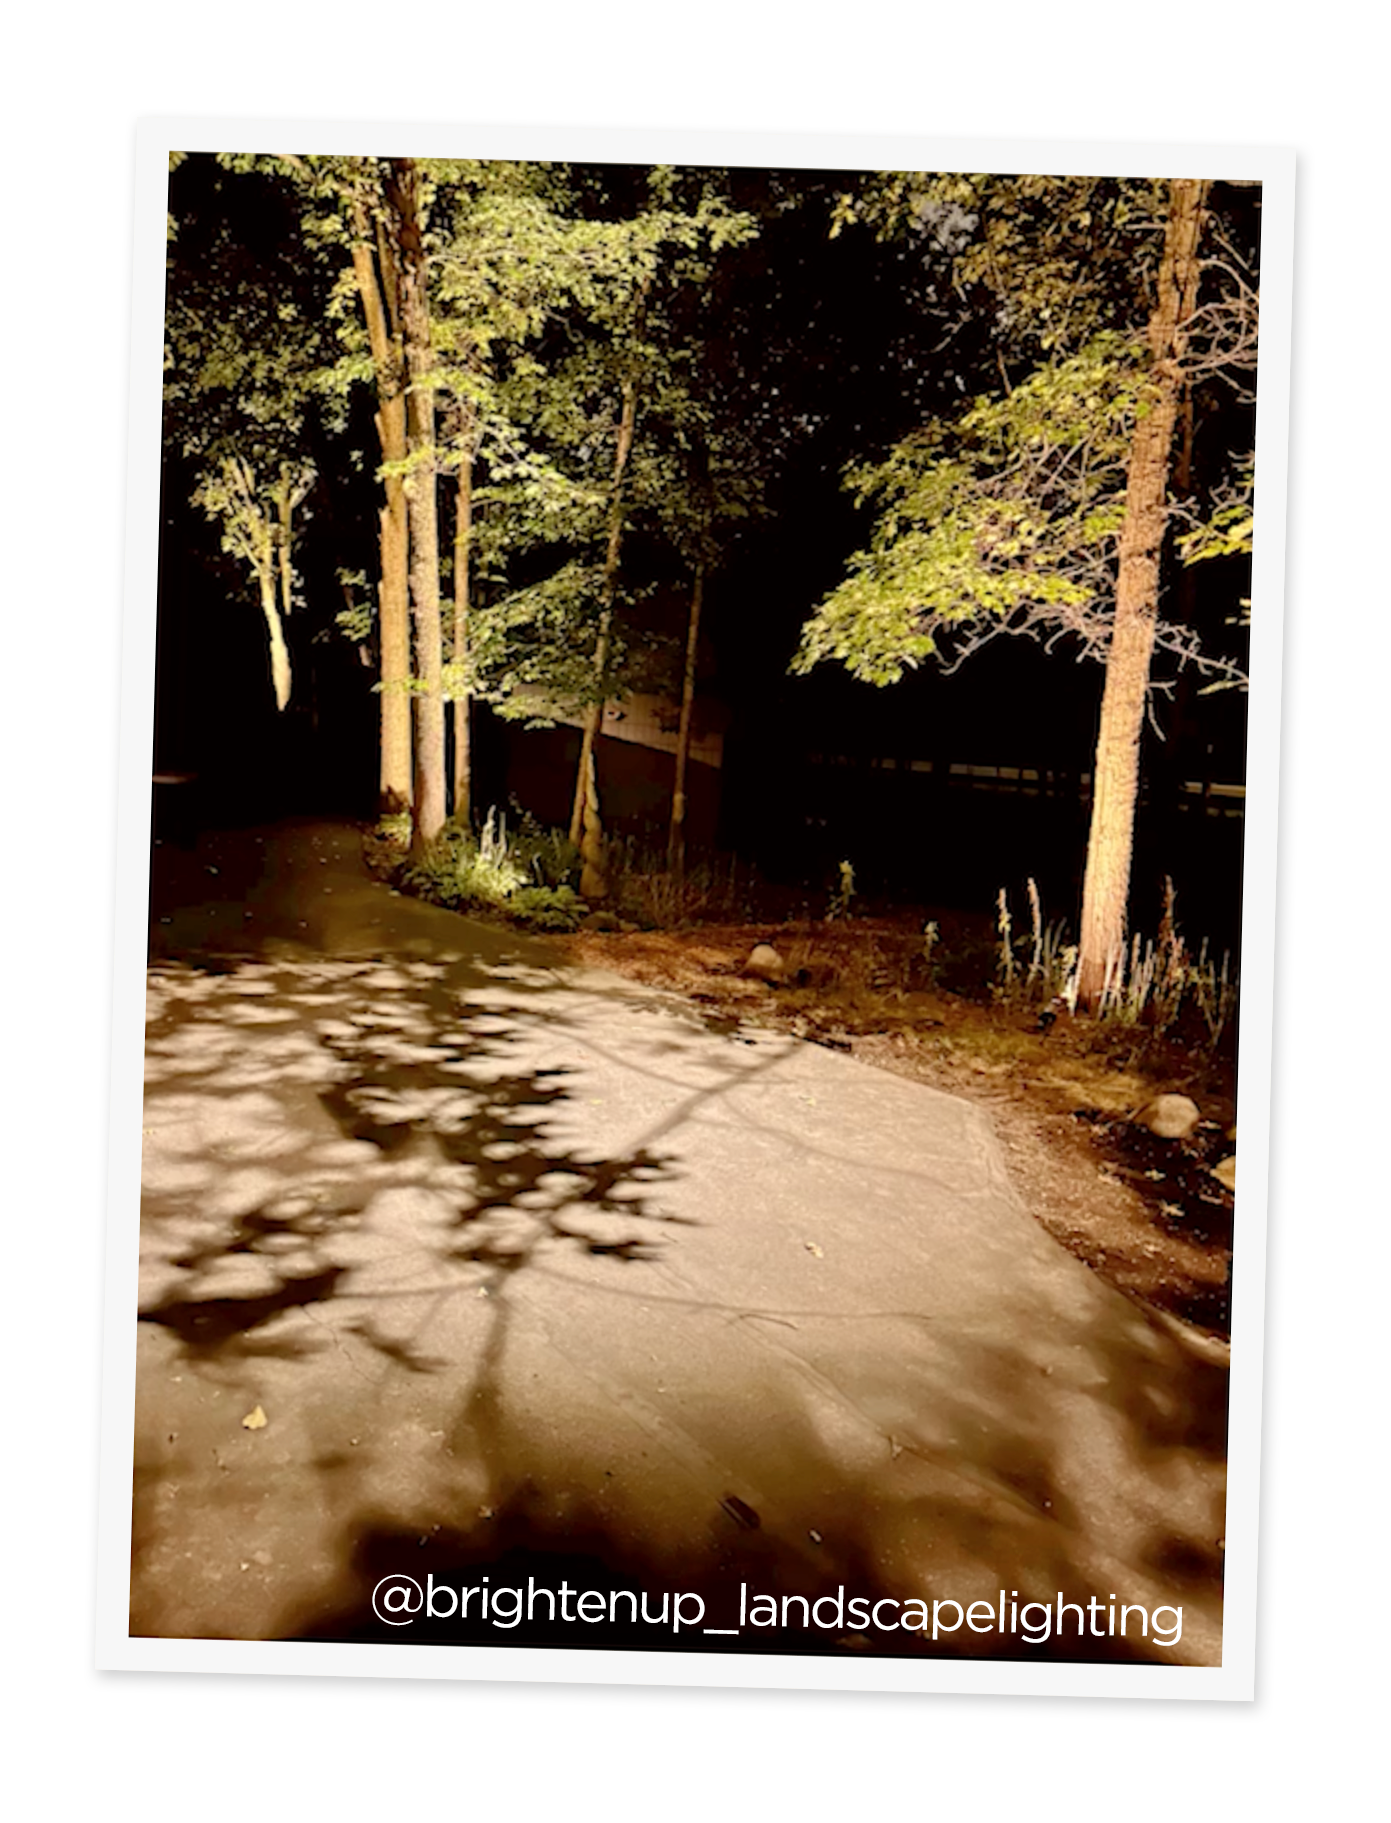
Look for areas where the beam can filter through branches and leaves before it hits the ground. That natural breakup creates softer shadows and gives downlighting its moonlight effect.
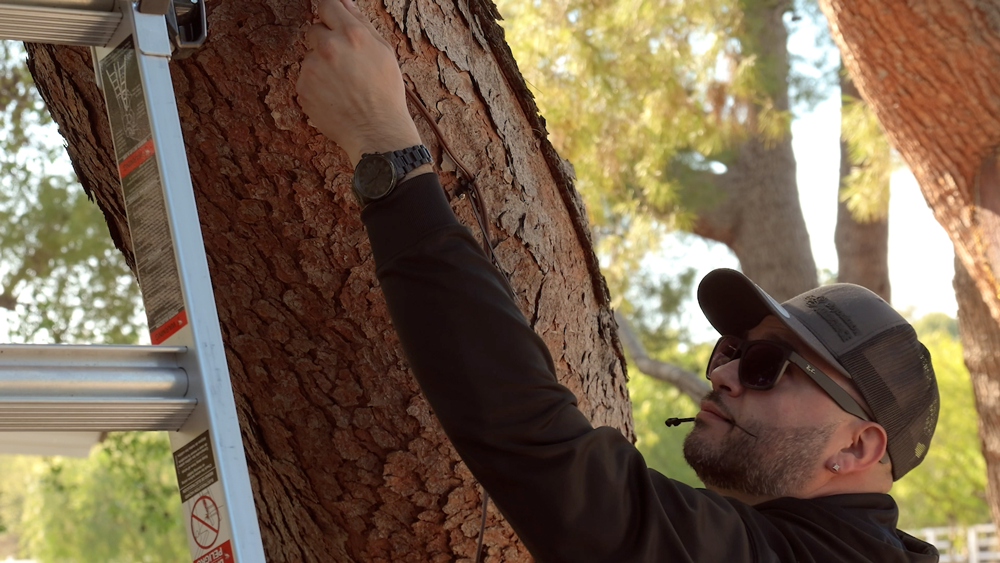
Before locking everything down, aim the fixture toward the intended focal point. Since installs usually happen during the day, a green laser pointer can help. Line it up with the fixture to get a better read on where the light will hit, then fine-tune the effect after dark if needed.
Zip ties with eye holes anchor the wire to the tree
Plan for Growth & Maintenance
A clean tree-mounted install needs to account for what happens after the job is done.
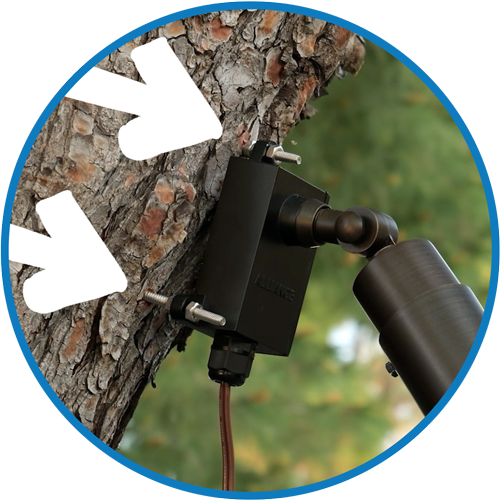
Use the Alliance Treemount, which adjusts outward as the trunk grows. Leave slack wire at the base of the tree for future service, so future adjustments are easier during routine maintenance.
Use eye-hole zip ties and stainless screws to anchor the wire down the tree. Keep the zip ties loose enough for the wire to move as the tree grows taller, and leave the screws about an inch out from the trunk to allow for future growth in width.
This is also a great reason to build downlighting into a maintenance package. During future visits, you can let out wire slack, adjust the Treemount outward, and re-aim the fixture so the light stays dialed in as the tree grows.
Watch the Installation Video for More Tips
In the video, we walk through the full process of how to install downlighting in a tree, including how to prep hanger bolts before you climb, secure wire with eye-hole zip ties, aim fixtures from the canopy, and plan for tree growth and maintenance. For this installation, we used three key components: the DL200 downlight, a bt-ALLY MR16 lamp, and the Alliance Treemount junction box.
If you're looking for some other insightful tips, check out our guide to choosing the right transformer, or read about our outdoor lighting demo kits, one of the most powerful sales tools.