
A Pro’s Guide to Smart, Reliable Setups
Low voltage outdoor lighting installation is more than just connecting fixtures—it’s about delivering results that look clean, work reliably, and make you the go-to expert in your market. Whether you’re tackling a garden lighting project, installing dusk-to-dawn lighting controls with a smart transformer, or adding a commercial-grade setup, this guide breaks down what matters.

Plan Before You PLACE
Successful installs start with smart planning.
Ask yourself:
What areas need lighting?
Pathways, patios, trees, features, signage?
What’s the lighting effect?
Wall washing, uplighting, moonlighting?
Where will the transformer go?
Limited options due to photocell obstructions?
Mounted in the garage with an astronomical timer?
Having a layout ahead of time avoids wasted time and callbacks. When it comes to low voltage outdoor lighting installation, this is non-negotiable. It helps ensure balanced lighting, cleaner wiring paths, and fewer surprises once you start trenching or running cable.
Use Durable, Professional-Grade Equipment
High-quality gear = fewer headaches.
What you'll need for every outdoor lighting installation:
- Transformer (sized for current + future needs)
- Direct burial-rated cable
- Solid brass fixtures (not aluminum, which is corrosive)
- Waterproof connectors - click here to check our our A-LOCS
- BTREs for Bluetooth mesh systems - available as a stake or surface mount or indoor plugin
Pro tip: Use rugged, corrosion-resistant fixtures for long-term reliability. (Yes, we’re biased—but solid brass really makes a difference.)
Test Voltage as You Go
Voltage drop kills performance.
If you’ve ever had dim fixtures or erratic behavior, this is probably why. The good news? You can catch it early with smart wiring and quick voltage checks as you go.
Avoid voltage drop by:
- Using heavier gauge wire for longer runs (like #10-2 or #12-2)
- Balancing cable runs
- Avoid unnecessary length in the wire — leave a few feet of slack at each fixture and cut away the rest.
- After making your connections, use a multimeter to check voltage at the farthest fixtures. If it's too low, now’s the time to adjust wire gauge or layout—before you bury anything.
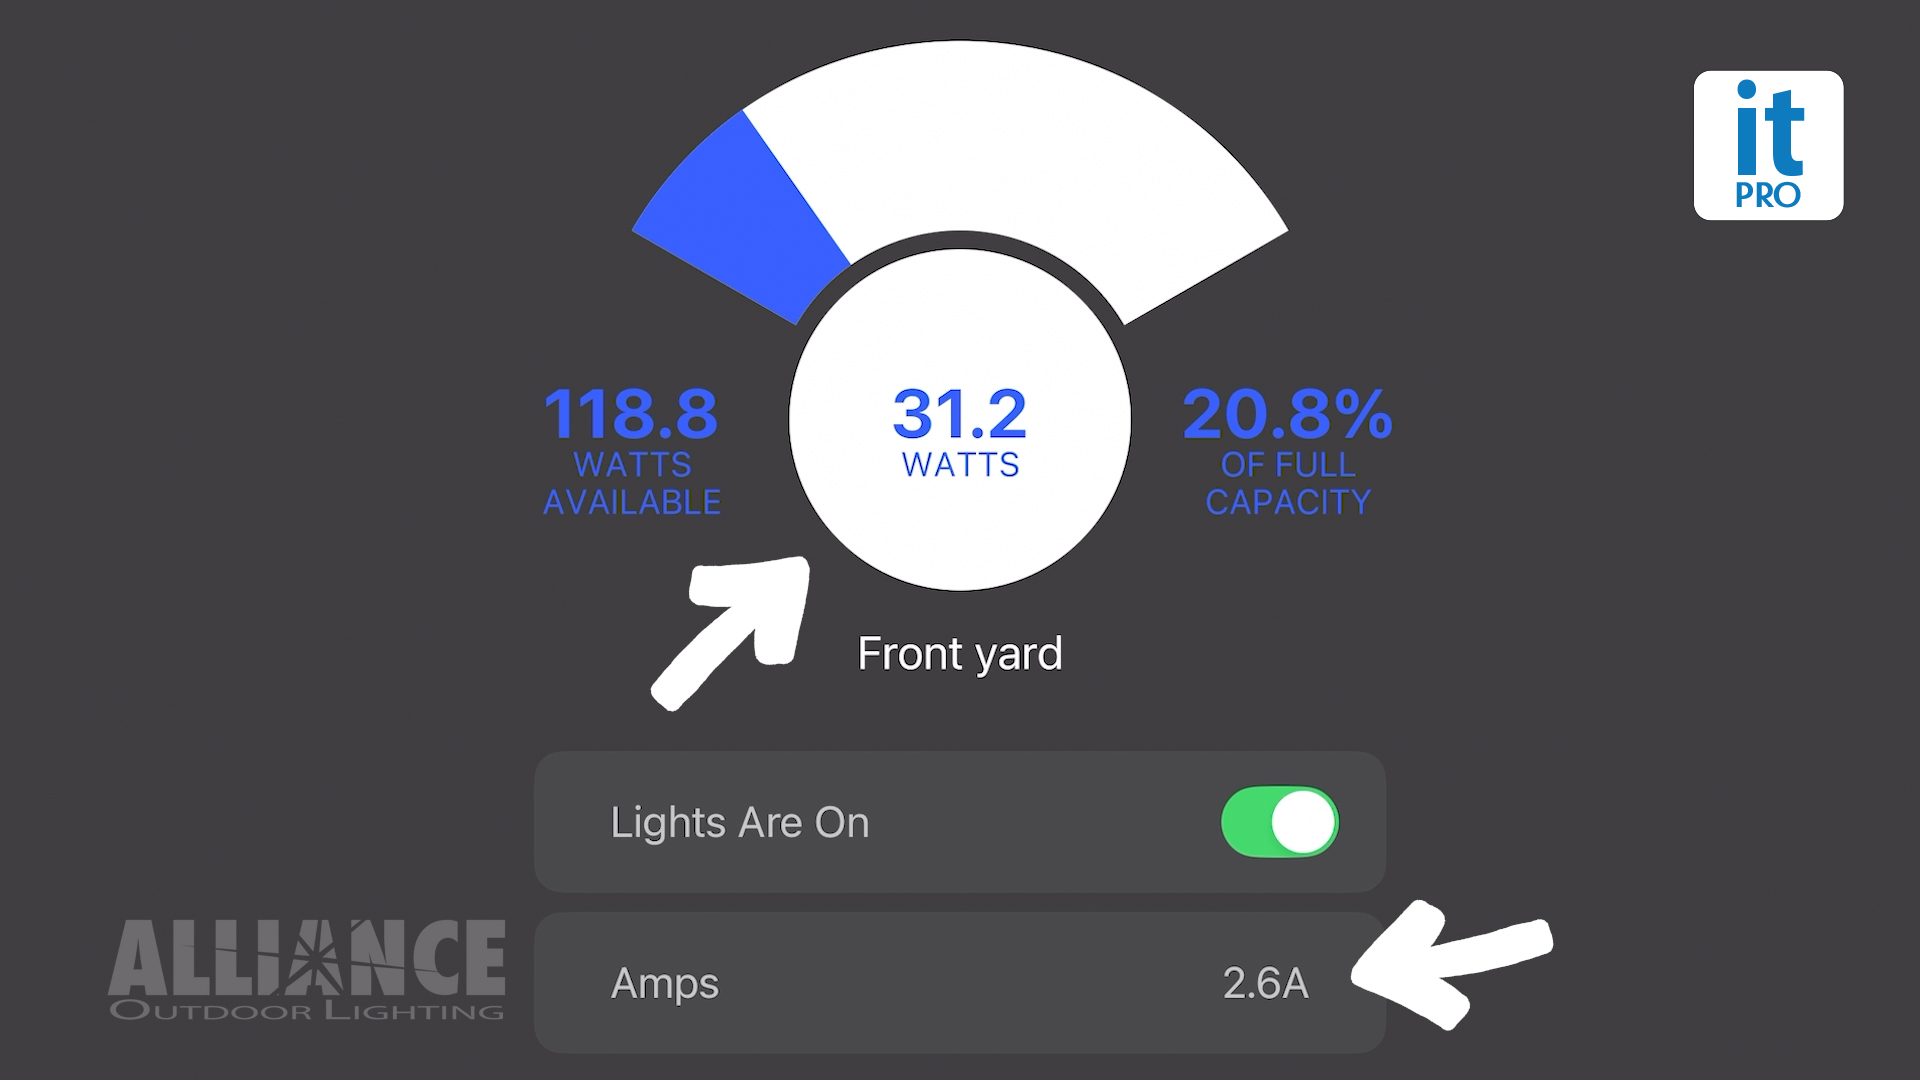
Pro tip: If you're using an Alliance it2 smart transformer, you can get real time readings with our convenient digital power meter (accessible in the itPRO app).
Confirm It’s Solid Before You Bury It
Before you bury any wire or walk off the job, make sure the system is actually working the way it should. That means powering it up, checking voltage and connection integrity, and securing all your fixtures.
What to check:
- All fixtures are lit with consistent brightness
- No flickering, dimming, or dropouts
- Smart systems respond correctly (all zones communicating)
- Wire connectors are tight and sealed
- Mounting hardware is secure and aimed correctly
If something’s off, fix it now—before the wires disappear underground. A loose connection today is a callback tomorrow.
Bury wire at least 6" deep to keep things code-compliant and protected from pets, rodents, or lawn equipment. And if you’re installing during the day, plan to return after dark for final adjustments—aim and angle fixtures when you can actually see how the light hits.
Pro tip: Once everything checks out, give it one more quick test. Then you can bury the wire, button things up, and leave it looking clean and professional.
Offer Smarter Lighting Options
Today’s customers want more than just lights that turn on—they want control, automation, and reliability without the hassle. You can give them that with smart transformer options that handle programs, zoning, and dusk-to-dawn lighting schedules that automatically adjust with the seasons.
Alliance Smart Control Options:
-
it2 Smart Transformer – App-controlled with Bluetooth® and WiFi capabilities and a built-in astronomical timer; install it indoors or out, no photocell needed. Get the details on our it2 series here.
-
iTimerPRO-2 – Plug-in astronomical timer that adjusts for sunset/sunrise and daylight saving—set it and forget it. Also Bluetooth® and WiFi capable. Learn more about the itimerPRO-2 here.
-
Alliance bt System – Our reliable Bluetooth® system offers full app-based control with integrated Bluetooth® fixtures and drop-in lamps. Gives your customer full control of color, color temperature and brightness. You can find more info about our Bluetooth® system here.
-
btALLY drop-in LED lamps—perfect for retrofit landscape lighting upgrades for customers who want RGBW color added to their existing fixtures. Check out the full btALLY lamp lineup here.
Why your customers want it:
- No need for outdoor daylight exposure like with photocells
- No manual reprogramming as the seasons change
- Easy upgrades that add value and reduce callbacks
- Modern RGBW colors and refined lighting customizations with the bt system

TL;DR – Outdoor Lighting InstallATION Checklist
✅ Start with a plan (don’t wing it)
✅ Use solid brass fixtures and quality components
✅ Wire smart and check voltage as you go
✅ Test everything before you bury it
✅ Offer smart lighting options your customers actually want
Smart installs = fewer callbacks, happier customers, and more repeat business.
Need help with planning or product selection?
Talk to your distributor or hit us up directly, we're always happy to help.
If you'd like to learn more about outdoor lighting installation, check out our Youtube channel @allianceoutdoorlighting we're always posting new videos.